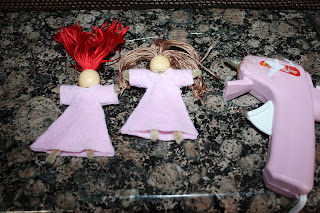
These fairies are so super easy to make.
I think they only took about 10 minutes to put together
. I had all the supplies in the house except for the wooden beads.
These fairies were inspired by Wicked Crafty's post. However, I skipped step #6.
Supplies needed for fairies:
felt (any color for dress & wings)
*I used stiff felt for the wings
wooden beads
pipe cleaners for the body
embroidery string in any color for hair
ribbon
flower
hot glue gun
scissors
Step 1 - fold pipe cleaner in half & place bead over the top.
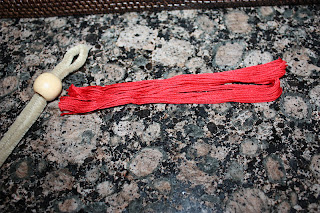
Step 2 - Cut the embroidery string and put through pipe cleaner.
Step 3 - pull pipe cleaner into bead a little.
Step 4 - Shape the remainder of the pipe cleaner into a body.
*I twisted the middle of the body to keep it more together once it was formed*
Step 5 - fold the felt in half. Place the template of the dress at the fold.
Step 6 - Trace, cut & cut a small hole in the top to put over the head.
Step 7 - hot glue gun the sides of the dress and under the arms.
*I also hot glued the bead to the pipe cleaner so it couldn't be pulled off by tiny fingers*
Step 8 - Make your wings
Step 9 - glue the wings to the back
Step 10 - hot glue the petals around the waist on both sides
Step 11- Tie a ribbon around the waist & tie a bow
*I wrapped the ribbon around the waste a couple of times before I tied it in the back*
Milk carton fairy cottage!
So easy to make!
Just use your imagination!
Plastic milk cartons are really easy to cut through.
I just make sure there are no sharp edges left.
I hot glued all the embellishments to the milk carton.
I used puffy paint for the writing, etc.


Hello. fantastic job. I did not anticipate this. This is a impressive story. Thanks!
ReplyDeleteKlein 5152S Oval Bucket with 41 Pockets
I think this is one of the most significant information for me. And i am glad reading your article. But should remark on few general things, The web site style is perfect, the articles is really nice : D. Good job, cheers
ReplyDeleteBogs Women's Classic Mid Tuscany Rain Boot